PUBLISHED
September 12, 2024
For the past decade, the slicked-back bun has reigned supreme in the realm of cool-girl hairstyles. Though it may seem simple, this look has a lot going for it. It’s a key part of the clean girl aesthetic that seemingly took over the world of beauty, fashion and style—minimal makeup paired with sleek, perfectly styled hair—that gives off an air of effortless luxury. The hairstyle not only highlights the face beautifully, but it’s also elegant in its simplicity.
One of the best things about the slicked-back bun? It works for everyone, regardless of hair texture. It’s quick, easy, requires minimal skill, and serves as a great protective style for low manipulation. Whether you’re running out the door or trying to create a polished look in minutes, this bun is your go-to. Plus, the sleek bun is incredibly versatile. You can play around with different variations, but one rule remains: the sleeker, the better, with every hair neatly in place.
How to Create a Slicked-Back Bun
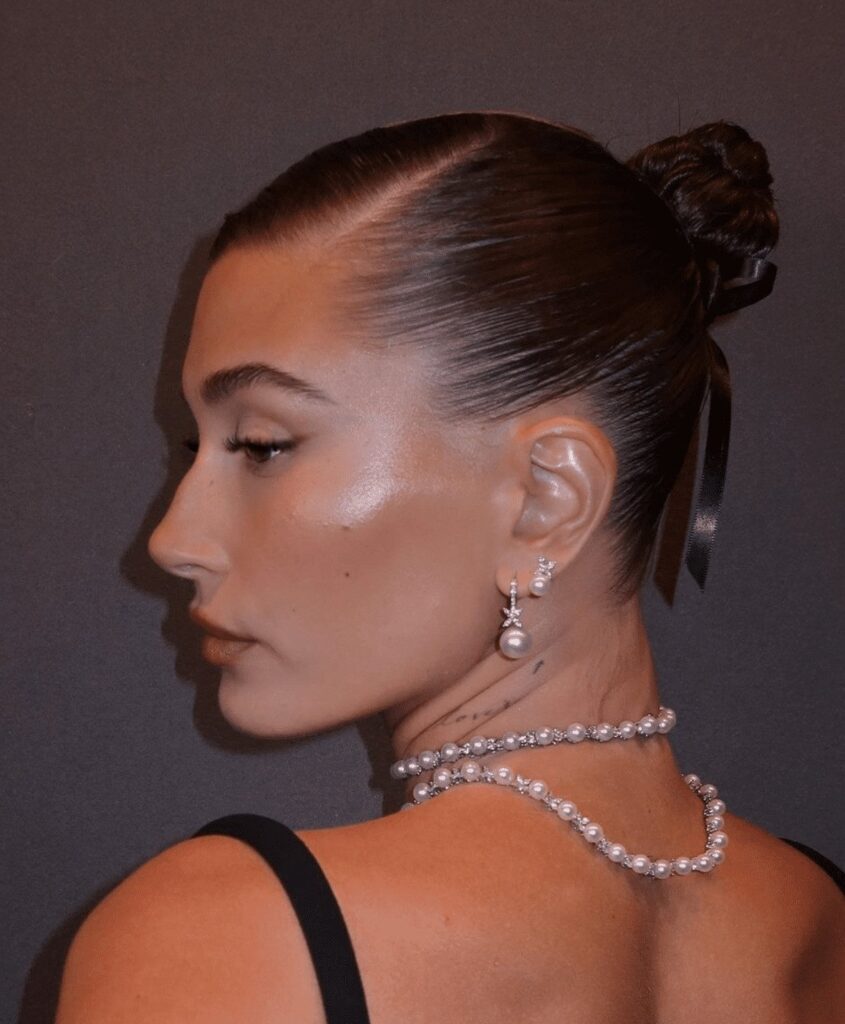
The beauty of this hairstyle is its adaptability. It can be worn high, mid, or low, with a center part, side part, or no part at all. The goal is a neat and polished bun that frames your face flawlessly.
Comb the Hair Straight
Your hair type and density will guide the process. Start by combing through your hair until you can easily gather it into a ponytail. If you’re after a super-smooth finish, consider blow-drying your hair straight or at least straighter beforehand, as hairstylist Andrew Fitzsimons suggests.
Apply Moisturizing Cream or Detangler
Before you begin styling, it’s important to prep your hair with a moisturizing cream or oil. This will not only give the bun extra sleekness but also provide protection for your hair. Additionally, ensure that your hair is fully detangled to avoid any unwanted knots, which can ruin the smooth look.
Create the Perfect Ponytail
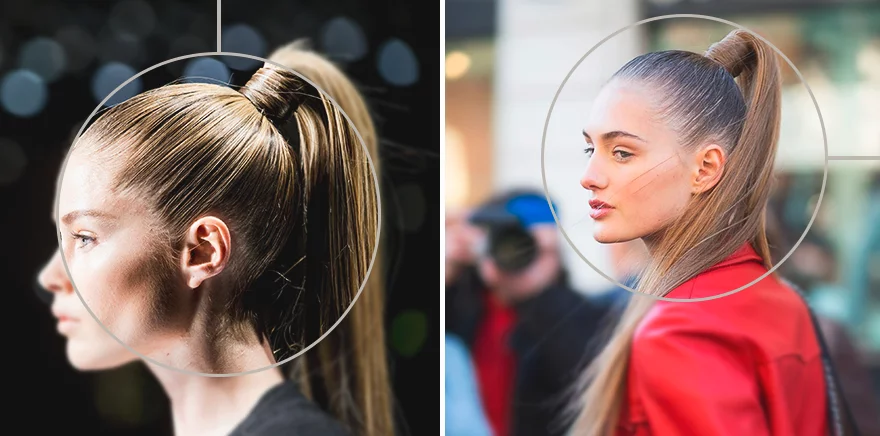
The bun starts with the ponytail, which serves as the base of the style. To achieve a smooth, sleek look, work in sections. First, part the front of your hair from the back and secure the back portion into a ponytail. Then, incorporate the front sections. Use a boar bristle brush to ensure all the hair is smoothly pulled back, distributing natural oils for added shine. Secure the ponytail with a non-snagging elastic. Once in place, twist the ponytail around its base to form your bun, and tuck in the ends with hairpins until you reach your desired look.
Apply Gel or Hairspray for Hold
For extra hold, feel free to use a strong gel while styling. However, finishing the look with a light spritz of hairspray or shine spray works well for everyone. While you can add hair accessories if desired, the slicked-back bun tends to look its best when kept minimal—maybe just a subtle pin, barrette, or ribbon.
Downsides of the Slicked-Back Bun
Even though the slicked-back bun is a go-to hairstyle, it does come with a few potential drawbacks. Despite being simple, it requires attention to detail and often needs product, like natural oils or gels, to achieve that ultra-sleek finish. For those with curly hair, regularly manipulating your hair’s natural texture can pose a risk to overall hair health.

Additionally, tight hairstyles like this can cause some physical strain. Over time, slick styles can contribute to hair loss, and styling your hair too tightly may lead to headaches. So, while you want your bun to look tight and neat, it’s best to ensure it’s not too taut—better to avoid any unnecessary discomfort or damage.


